Getting started
Creating a survey in R3mScore is a straightforward process that allows you to collect valuable data from your respondents. This guide walks you through the essential steps to design, configure, and launch your survey.
Go to the Surveys section of the application
Navigate to the left menu and click on "My surveys" to access the survey management interface.

Create a new survey
To create a new survey, navigate to the survey module and click on "Add". This will open the survey creation interface where you can begin building your questionnaire.

After clicking "Add", you will be redirected to a new page where you can configure your survey details and settings.
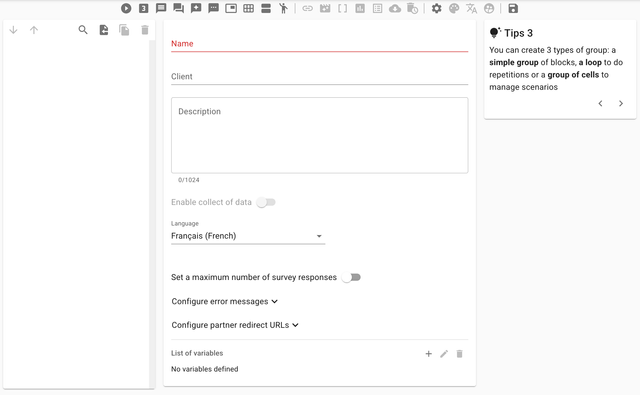
Survey settings
In the settings section, you can configure various aspects of your survey data collection and management:
Data collection configuration
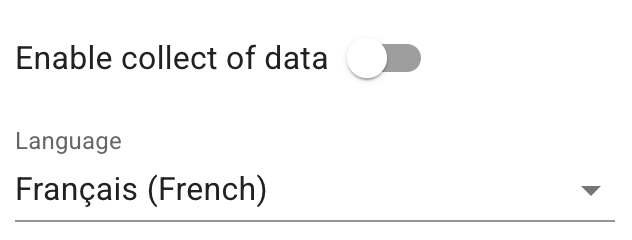
- Enable collect of data - Once the survey is saved, you can activate data collection for your survey
- Select a collect default language - Choose the primary language for data collection
Response management
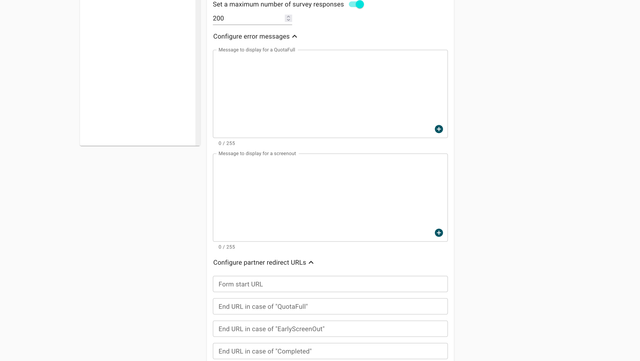
- Maximum survey responses - Set a limit on the number of responses. Once this number is reached, it is no longer possible to access the questionnaire
- QuotaFull and ScreenOut messages - Configure custom messages to display when quotas are reached or respondents are screened out. If no message is configured but a block such as "ending message" exists, the respondent will be directed to this block
- Upload default messages - Click the "+" button to upload predefined messages for various scenarios
- Partner redirection - Configure custom redirection URL.
Variable management
The settings also include tools for managing survey variables:
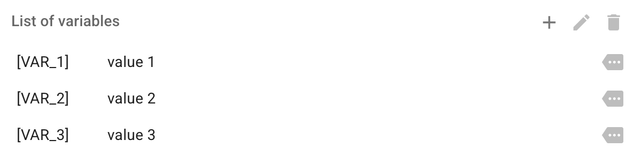
- Create a variable - Add new variables to use throughout your survey
- Edit a variable - The "Edit a variable" menu allows you to modify the value of the selected variable as well as its description
- Delete selected variable - Remove variables that are no longer needed
- Variable descriptions - By hovering the mouse over the variable icon, you will be able to view the description of the variable. This description will not be visible to respondents
- Variable codes - The "Code" affiliated to each variable can be used in any block of the survey. For example:
[VAR_1]corresponds to "Variable 1". Respondents will not see this code but the associated value (see Referencing for more details)
Adding blocks to your survey
Once you've created your first survey, you can start adding blocks directly within the survey interface. Blocks are the building components of your survey that contain different types of questions and content elements.
To add blocks to your survey:
- Within your newly created survey, look for the "Add block" button or similar option
- Click to insert a new block at your desired position
- Configure the block type and content according to your survey needs
Each block can contain various question types, text elements, or other interactive components that will help you gather the specific information you need from your respondents.

Question types
Each question type has its own detailed documentation with specific configuration options and examples:
- Introduction - Welcome messages and survey introductions
- Open question - Text-based responses and comments
- Closed question - Multiple choice and single selection questions
- R3m question - Specialized R3mScore question format
- Hotspot - Interactive image-based questions
- Battery of items - Groups of related questions with shared response scales
- Adaptive question - Dynamic questions that adapt based on previous responses
Share your survey
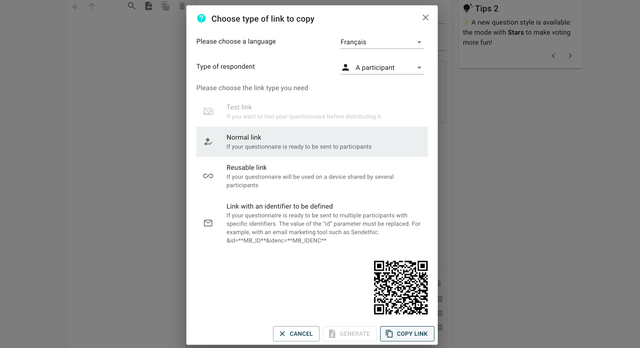
Get link
Once your survey is ready, you can share it with respondents using various link types and distribution methods.
To share your survey, collect of data must be enabled in the settings
Share it!
For detailed information about sharing options, link types, see our comprehensive Sharing guide.
Access to your data
Data visualisation

For detailed information about data visualisation, see our comprehensive Data visualisation guide.
Reporting
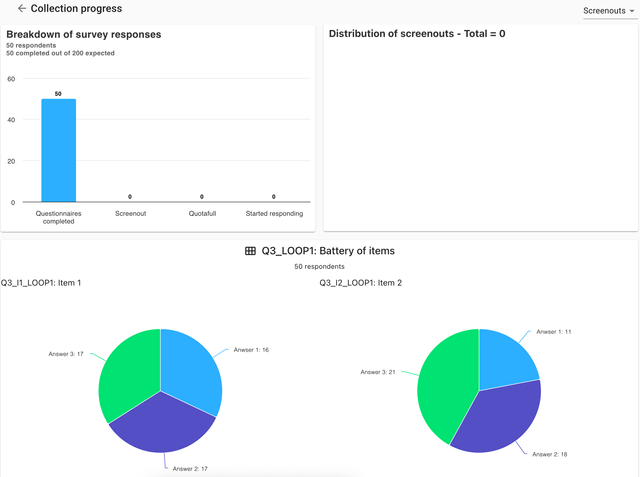
You can access to some analytics about your survey's answers. To learn more about reporting, see Reporting.
Export data
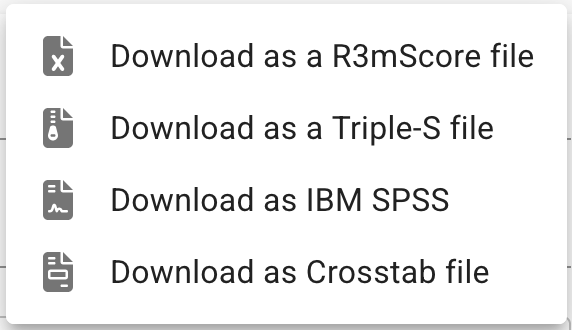
You can export data in R3mScore file, Triple-S, IBM SPSS or Crosstab. To learn more about export, see Export.