Hotspot
The hotspot question type allows you to create interactive clickable zones on images. Respondents can click on different areas of an image to provide feedback, making it ideal for visual evaluation studies, interface testing, or any scenario where spatial feedback is valuable.
Creating a hotspot question
It is necessary to add an image before you can create hotspot zones. The hotspot functionality depends entirely on having an image as the base element.

Basic setup
Adding an image
Start by uploading the image that will serve as the base for your hotspot zones. This image will be the interactive element that respondents click on.
Adding descriptive text
Text can be displayed above the image to provide context or instructions to respondents.
Use the "+" button to generate default text that you can then customize for your specific needs.
Zone management
Accessing zone management
Once your image has been added, you can access the zone management menu by clicking on "Manage zones".
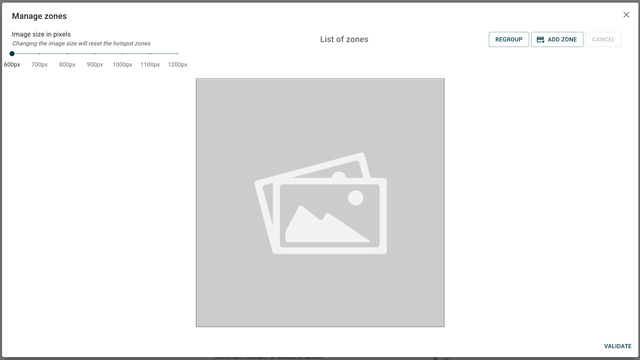
Image width configuration
Image width can be set between 600 and 1200 pixels to optimize display across different devices and screen sizes.
Answer configuration
Default answers
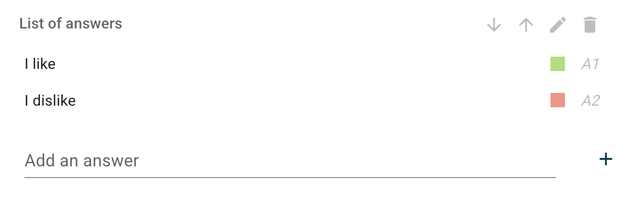
By default, the hotspot block contains 2 answers that represent different response states. These answers can be:
- Moved up and down to reorder them
- Edited to change their text
- Deleted if not needed
- Assigned specific colors for visual feedback
Click behavior
The hotspot system uses a sequential click pattern:
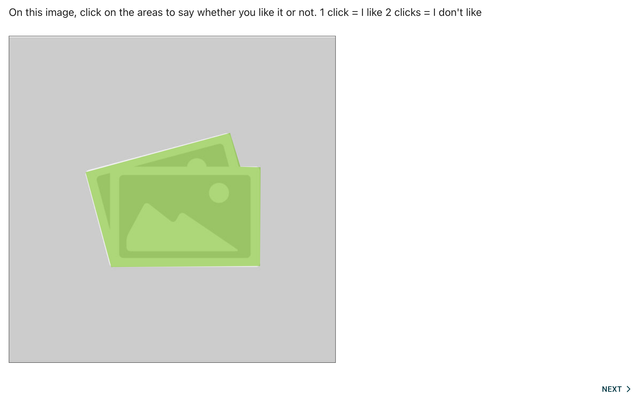
- 1st click: Displays the color of the first answer (e.g., "I like")
- 2nd click: Displays the color of the second answer (e.g., "I dislike")
- 3rd click: Resets the zone (no selection)
Creating zones
Zone creation process
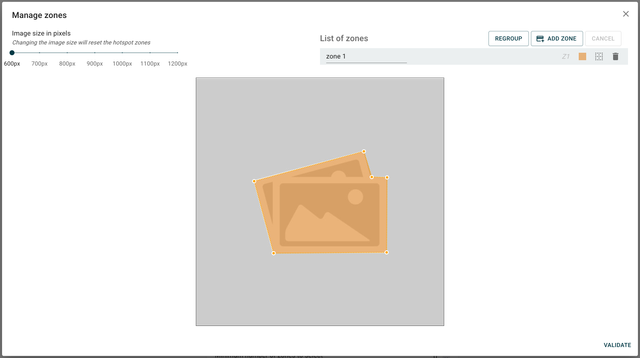
- Click on "Create zone" to start the zone creation process
- A polygon is formed by clicking on the endpoints of the desired zone
- Click multiple points to define the shape of your clickable area
- Validate the zone to add it to the zone list
Click on multiple points around the area you want to make clickable. The system will connect these points to form a polygon shape.
Zone management options
Once zones are created, you can:
- Change color: Modify the hover and selection colors
- Enable/disable borders: Control whether zone boundaries are visible
- Delete zone: Remove unwanted zones
Color customization
Change the color of a zone by clicking on the colored square. When respondents hover over the zone with the mouse, this color will appear to indicate the clickable area.
Collect appearance
Advanced options
Minimum zone selection
You can define a minimum number of zones that must be selected before respondents can move to the next question block.
This ensures respondents provide sufficient feedback before proceeding through the survey.
Skip option
Add a checkbox that respondents can tick if they didn't select any zones but wish to continue with the survey.
This option prevents respondents from getting stuck if they genuinely have no feedback to provide on the image.