Getting started
Welcome to your first steps with the R3M Score Platform! This guide will walk you through the essential setup and initial actions to get your first project running.
Prerequisites
Before you begin, ensure you have:
- An active R3M platform account (contact your administrator or support if needed).
- Your survey data prepared in the correct Excel format (see below for details).
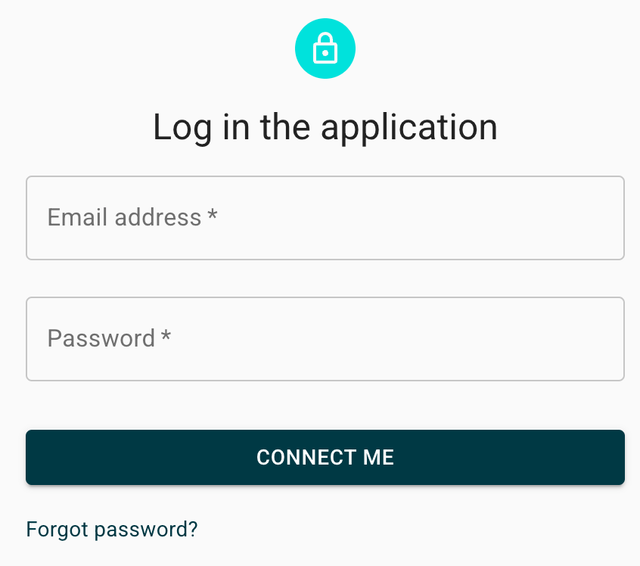
1. Logging in
Go to the R3M platform website and log in with your email address and password.
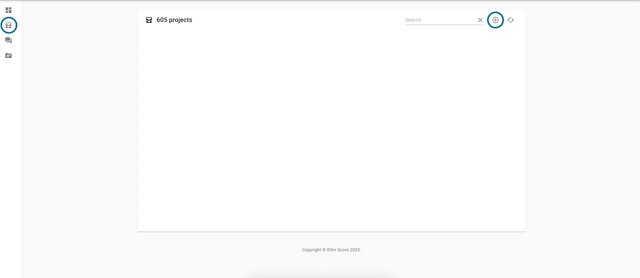
2. Creating a new project
-
Navigate to "My Projects" After logging in, go to the "My Projects" section.
-
Click "Create New Project" Press the "CREATE NEW PROJECT" button.
-
Fill in project details:
- Project name
- Client
- Number of sequences (for multi-wave or multi-country studies)
- Summary and detailed description (context, survey specifications, goals)
- Language of R3M words (choose the language used for responses)
-
Save your project Click "SAVE" to create the project.
3. Uploading your data file
- Go to your newly created project and select the DATA tab.
- Drag and drop your data file in the recommended Excel format.
Data file requirements:
- One Excel tab only.
- Columns:
- A: Participant identifier (numeric, no formulas)
- B: Participant weighting (numeric, default = 1)
- C: Stimulus identifier (clear and explicit names)
- D, E, F: The three R3M words (mandatory, no empty or invalid entries)
- G–AT: Optional filters (e.g., demographics, product info)
- No duplicates for participant x stimulus.
- All filter columns must be fully filled; use "na" if no data.
Make sure your data file is clean and follows the required format to avoid processing delays.
4. Starting your project
- After uploading your data, return to the PROPERTIES tab.
- Click START MY PROJECT to launch processing.
- The platform will validate your data and notify you if any issues are detected.
Inform R3M support of your data reception schedule for optimal planning and timely results.
5. Next steps
Once your project is processed, you can:
- View your results and dashboards.
- Explore analytics and emotional drivers.
- Customize settings and export data as needed.
Continue to the usage documentation for detailed instructions on working with your projects.
For any questions or troubleshooting, refer to the support page.